Fun with Colored Porcelain
I have been playing around with colored clay off & on for some time. Lately I have decided to dedicate a little more effort into really learning how to successfully employ this technique. I am still in the early phases of experimentation & discovery, but I couldn’t wait to share what I have learned so far. I am going to walk you through an exercise that I did with layering different elements of colored clay. This was done in a step-wise process of “lamination”. Very thin slices of each of the elements was adhered to a base slab of clay. I built lamination on top of lamination to add some depth to the design in an attempt to make it a little more interesting.
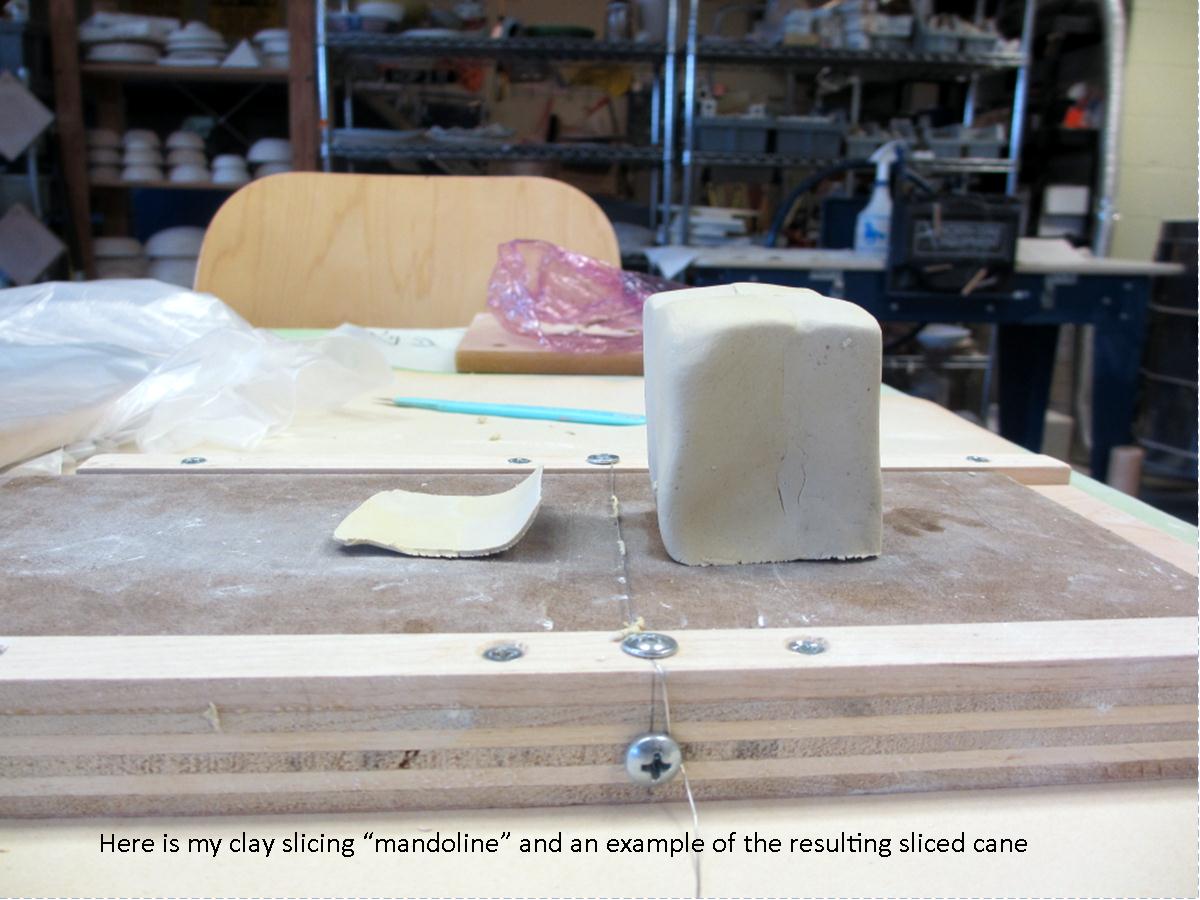
I decided to build a design featuring a rabbit made of roses set onto a checkerboard background. Step one was to create a series of “canes” which would be sliced to create the design motifs of the laminates. I created one cane of a four square “patch” out of yellow & green porcelain and a second cane of a large pink rose. After rolling a slab of porcelain to 1/8″ I began slicing the checkerboard cane into very thin wafers. Slicing small canes (<1″) can easily be accomplished using a scalpel, larger canes present a greater challenge. I have found that the BEST tool for creating consistent slabs of an even thickness is to use a tool specifically created for this purpose. Mine was purchased from a local potter, Nell Hazinski of Milkhouse Studio, and I strongly recommend that you consider investing in a tool like this. Contact Nell if you prefer to buy one rather than make your own: nellhazinski@gmail.com
Slicing the canes requires care & patience even with a proper tool. Timing is everything because if the cane is too moist slicing will distort your image. If the clay is too dry attempts to slice it will only destroy the cane. If your clay is too soft let it air dry for a bit, checking the moisture level from time to time. If the cane becomes too dry, spritz it with water, wrap in plastic & let it rest for an hour or so. As slices are prepared I keep them under plastic until I am ready to use them. Moisten your prepared slab with a little vinegar prior to placing the sliced components on top. Once the slices are arranged, cover with a soft cloth & roll the slices into the base slab. Gently rolling evenly in all directions helps to prevent distortion of your design during rolling. Your goal is to use the least amount of rolling required to get the job done. Repeat the layering process until you achieve a satisfactory result. Layers need to be planned so that the finished slab is of the desired thickness. If your slab is too thin you can laminate another one onto the back. Allow any project made using this technique to dry slowly under plastic. Smudges in designs can be removed by sanding the piece once it is bone dry. Wear a mask when sanding & dust off all loose clay before placing in the kiln.


Looks like so much fun, one of these days, I’ve got to try it.
That looks complicated and pretty!
I’ll bring you something for a hostess gift…. what do you need/want?
amazing…looks like a lot of work but the results are beautiful!!!
I’m happy to report that I’ve seen these in “real life” and they’re gorgeous! Sandy, you never cease to impress!! Love this technique.
Great blog, Sandy. Would you write mine?
You’re making some beautiful designs- fine, precise images. I love your rose rabbit. This is definitely a medium for you.
I have a great teacher 🙂
Very very cool. I love your determination to find a way to do this. The results are fabulous